Welcome back!
My kids are back in school, and I finally have time to make another huge wreath!
Here's my tutorial!!
If I confuse you at any point please feel free to send me a message.

First your going to need some supplies,
I hit the dollar store for a wreath and books (you will need 2)...
Your also going to need a glue gun and a stapler.

Next your gonna want to start the fun part (NOT),
rip out the pages carefully!!
I found it easier to start near the middle.
After your done pulling out the pages,
clean up the side by cutting the jagged edge off.

Since I bought a basket wreath I decided to cover it in duct tape
so I didn't have to worry about the uneven surface and hot glue dripping through the weave.
I left a small portion uncovered to thread my hemp string.

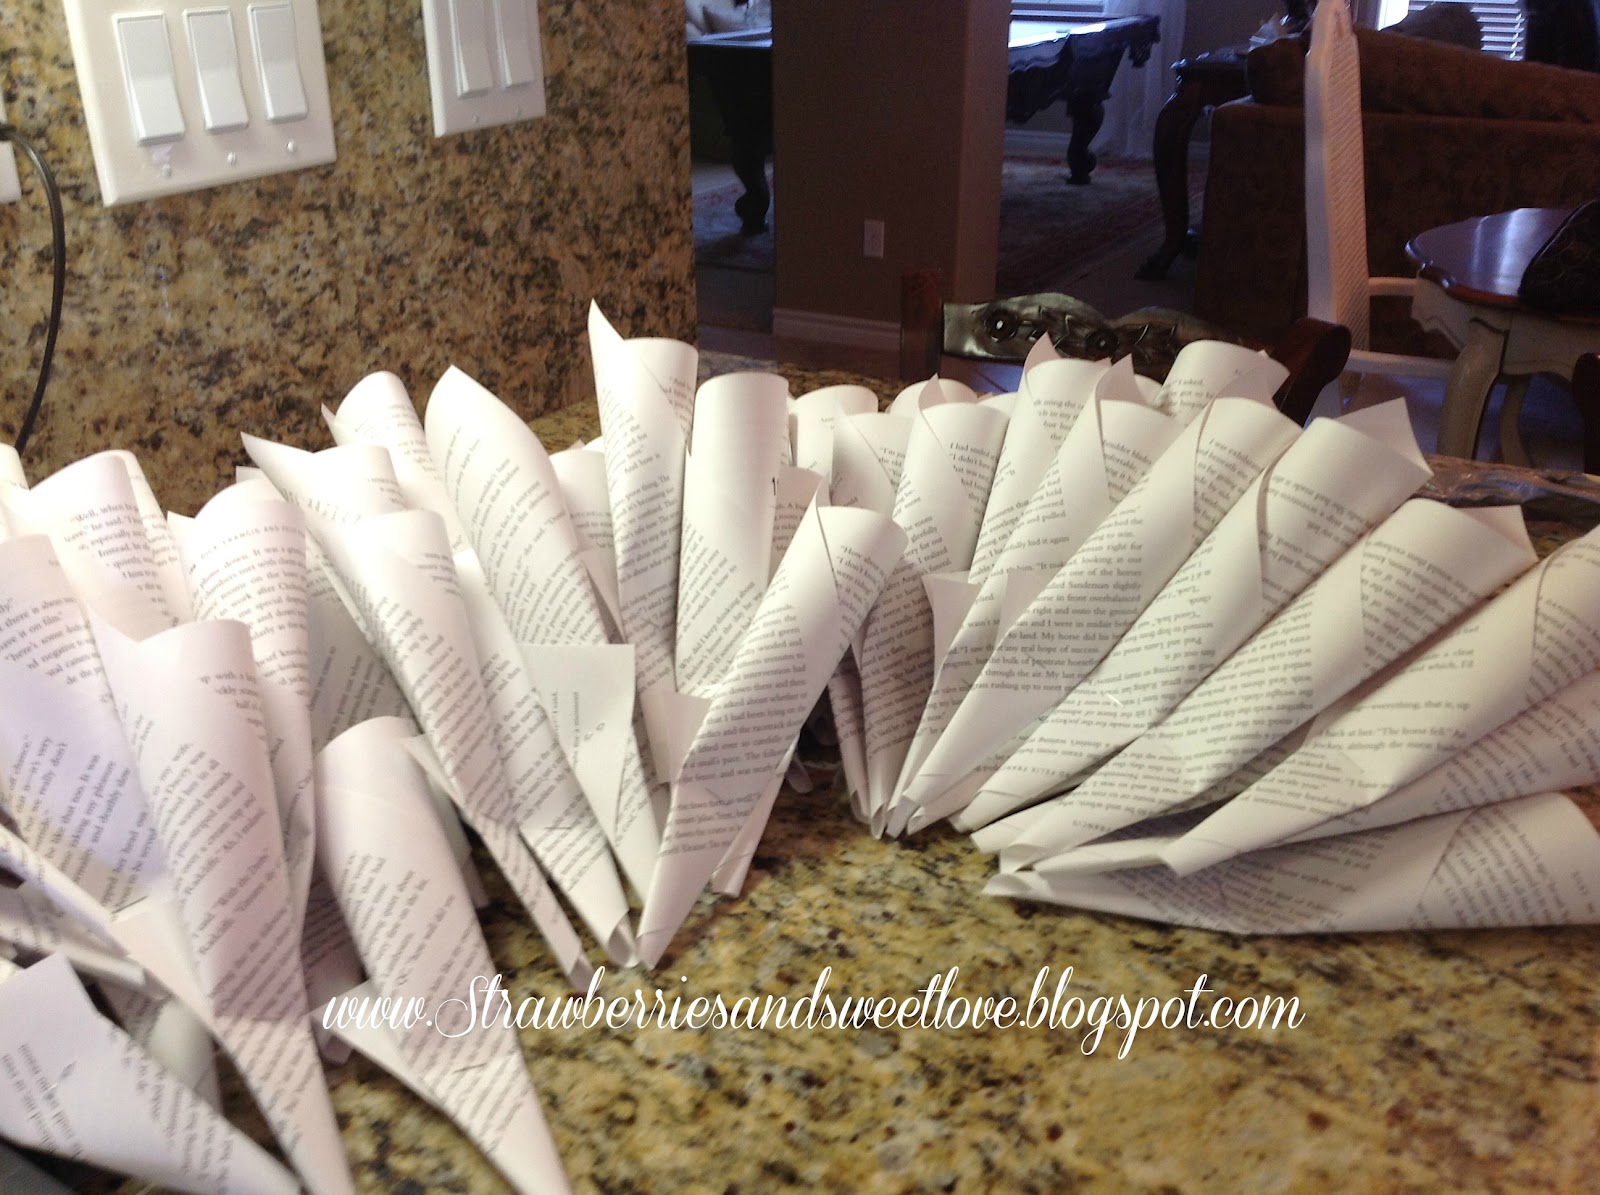
Now your going to start making your "petals",
here's a short how to video.
Please excuse my mom hands... and don't adjust your volume...
I tried talking but I hated it... and so I spared you.
Your going to need A LOT of these!
I used a 338 page book and it still wasn't enough!
Your going to start on the back of your wreath,
make sure you glue these faced down...
Here's your what your first row should look like.

Then your second row,
I made these taller then the first row by gluing on the wreath closer to the end of the paper.

Then the third row.
Here I added a petal to fill in every gap.
I also trimmed the paper that was overlapping the center of the wreath.
I started trimming the right side here:

Your all done with the back so flip it over and admire... ;)

Then look at your stock pile and cry...

Now onto the front side...
now is a great time to add a way to hang it.
I used a hemp string to hang mine.
(Its better to add this in the beginning but I completely forgot).

Now your going to do the same thing to the front that you did to the back,
making sure to face the petals up.
I made these petals shorter than the previous.

Then trim you overlapping paper...

Keep adding rows...

Once I got to the top of the wreath,
I folded the overlapping paper around the wreath to the back and hot glued it.
This hides the ugly duct tape a makes it look a bit more tailored.

Here's what it should look like in the back.

Continue adding rows...
Here you can trim your overlapping paper after its been glued or just cut it before gluing.

Keep adding rows until your happy!
Here's where if you see any bare spot fill them in!
And there you have it!
Your beautiful new wreath...

I made this one for my sweet sister...
I hope she likes it!

Thanks for stopping by!
What have you made a wreath out of lately?

I'm partying with the Thrifty Decor Chick, Homestories A to Z and DIY Showoff, stop by and check it out!
XO,
Michelle
